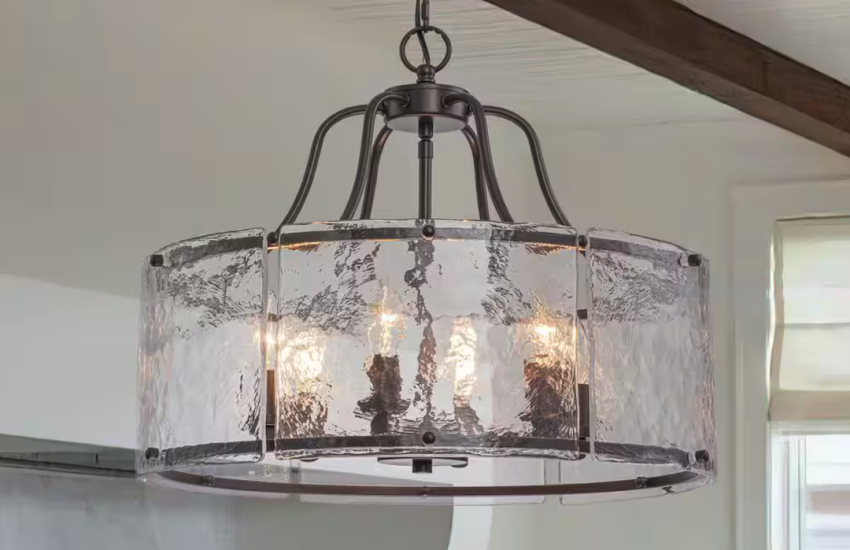
Introduction
Light fittings are essential for providing adequate illumination in any room. Besides practicality, they can also enhance the aesthetic value of a space. However, the installation process of hanging light fittings can be challenging, especially for those who lack experience. This article will provide tips and tricks for a perfect installation of hanging light fittings.
Tip #1: Identify the Type of Ceiling
Before installing a hanging light fitting, it is essential to identify the type of ceiling you are working with. There are two main types: plasterboard ceilings and solid ceilings. Plasterboard ceilings are lightweight and require specific fixtures to ensure they are structurally sound enough to hold the weight of the fitting. Solid ceilings, on the other hand, such as concrete or timber, require different hardware for the installation process.
Tip #2: Choose the Right Hanging System
Choosing the right hanging system for the type of ceiling is an essential factor to consider. There are three primary hanging systems: cable systems, chain systems, and rod systems. Cable systems are suitable for lightweight fittings, while chain systems are ideal for heavy or large fittings. Rod systems are a versatile option and can be used for both heavy and lightweight fittings. However, it is essential to consider the aesthetics of the chosen hanging system to ensure it complements the interior design of the room.
Tip #3: Ensure the Height is Appropriate
The height of the hanging light fitting is essential for both functionality and aesthetics. Generally, the bottom of the fitting should be at least seven feet above the floor to avoid any obstructions. However, the height should also be considered concerning the specific space in which the fitting is being installed. For example, a hanging light fitting above a dining table should be low enough for adequate illumination but high enough to provide enough space for people to sit comfortably.
Tip #4: Measure and Mark the Position
Measuring and marking the position of the hanging light fitting is vital for accurate installation. This can be done using a measuring tape and a pencil. The marks should be made where the hanging system will be attached to the ceiling. It is essential to ensure the markings are aligned accurately, or the fitting may be installed incorrectly.
Tip #5: Use the Right Tools and Hardware
Using the right tools and hardware is essential for the process of installing a hanging light fitting. Common tools include a drill, screws, anchors, and pliers. Always make sure to read the manufacturer’s instructions for the fitting and hanging system to ensure the correct tools and hardware are used.
Tip #6: Check the Stability
After installing the hanging light fitting, it is crucial to check the stability of the installation. Ensure the fixture is hanging straight and level and is not at risk of falling or causing any damage. This can be done by applying gentle pressure or shaking the fixture to identify any areas of instability.

